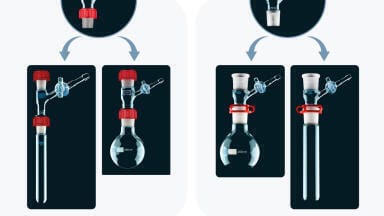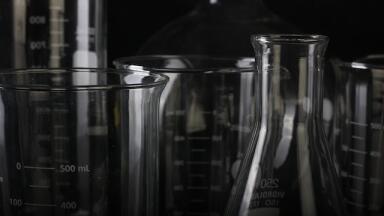
Glassware
Published over 3 years ago. See the latest and most current information on Glassware.
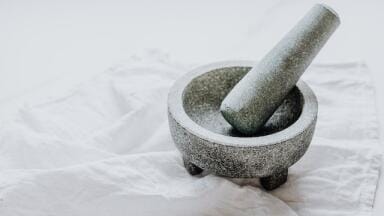
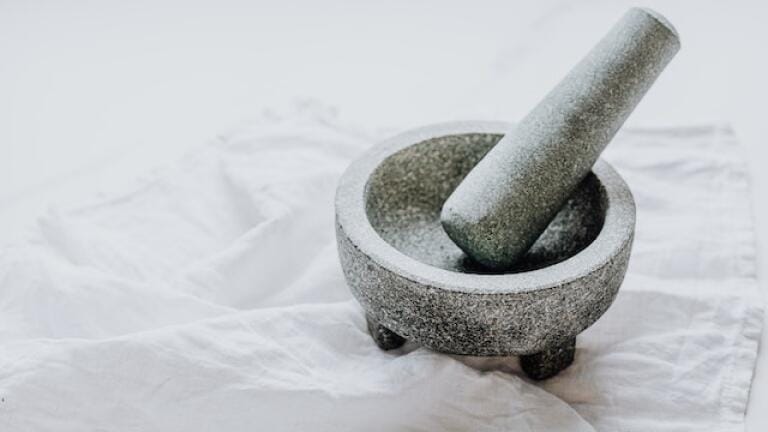
More than just a kitchen utensil, a pestle and mortar is a staple in most scientific laboratories. Made from durable materials, they’re used to grind components, samples and specimens into granular particles. Cleaning is an important step as a soiled pestle and mortar can compromise the accuracy of results and the safety of laboratory personnel.
Like glassware, cleaning laboratory pestle and mortars requires a specialised approach. Without the right cleaning steps, they can become a major source of contamination.
Before we dive into best-practice cleaning protocols, let’s take a closer look at how pestle and mortars are used in the laboratory.
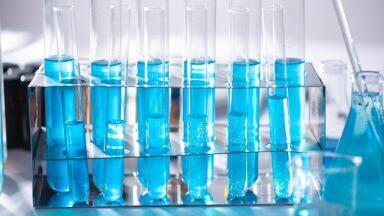
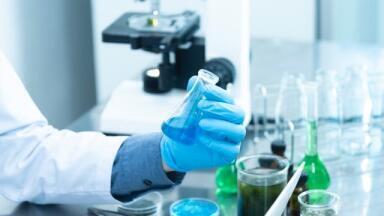
Increasing surface area can significantly accelerate the reaction rates of solutes such as solid-state chemicals. This makes it easier for the chemicals to dissolve when added to a solution.
Many laboratories rely on liquid solutions to carry out experiments. Pestle and mortars are a quick, easy and safe way to break solids into smaller particles. Depending on the texture required, solids can be ground into smaller fragments or a fine powder or paste.
To minimise the risk of cross contamination, the following steps can be used to clean laboratory pestle and mortars:
Most laboratory pestle and mortar cleaning protocols start with particle removal. Use a wire brush or clean towel to loosen debris and remove particles. This is an important step as previously used particles may react with water.
After debris has been removed, use hot soapy water to clean the pestle ad mortar. Ideally, choose a fragrance-free soap for this step.
Place on a clean rack and allow to air dry.
After drying, rinse with isopropyl alcohol to remove excess dirt and dust. This preps the pestle and mortar for future use.
For biochemistry applications, a rinse with hot sulphuric acid may be necessary to remove all remaining traces of chemicals and other contaminants.
The hot sulphuric acid step can be followed with an additional wash using diluted sodium bicarbonate.
Conclude with a rinse in deionised water.
Bake for half an hour at 110°C in a laboratory oven.
Find out more about gold-standard cleaning practices for other lab equipment and utensils, including glassware and pipettes in ‘Laboratory Hygiene - A Comprehensive Guide’.
ILM 51.5 July 2026


.jpg)


-(1).jpg)